There's nothing more frustrating than watching your once-pristine garage floor transform into a patchy mess of peeling, bubbling epoxy. If you're staring at your garage floor wondering how it went from showroom-worthy to shabby, you're not alone. Peeling epoxy is one of the most common flooring problems homeowners face, but the good news is that it's fixable—and preventable.
Why Is Your Epoxy Garage Floor Peeling?
Before diving into solutions, it's crucial to understand what went wrong. Epoxy peeling occurs when the chemical bond between the coating and concrete substrate fails. Think of it like a Band-Aid that won't stick to wet skin—without proper adhesion, failure is inevitable.
The Main Culprits Behind Epoxy Failure
Poor Surface Preparation - The #1 Cause
The most common reason epoxy floors fail is inadequate concrete preparation. Epoxy needs a clean, porous surface to create what professionals call a "mechanical bond." Without this bond, your coating is essentially sitting on top of the concrete rather than becoming one with it.
Here's what poor preparation looks like:
- Skipping the concrete profiling step (creating the right surface roughness)
- Failing to remove that fine white dust left after acid etching
- Not properly cleaning oil stains, dirt, or other contaminants
- Applying epoxy over a surface that's too smooth or sealed
Moisture Issues
Water is epoxy's biggest enemy. Moisture trapped between the concrete and coating causes the dreaded "epoxy blister" effect. This commonly happens near garage walls where water can seep through, or in areas with high humidity during application.
Temperature and Environmental Factors
Epoxy is surprisingly sensitive to temperature fluctuations. If applied when it's too hot, too cold, or too humid, the coating won't cure properly. Additionally, dramatic temperature swings after installation can cause expansion and contraction, leading to cracks and peeling.
Using Low-Quality DIY Kits
Most big-box store epoxy kits are simply not designed for the harsh conditions of a garage. They're thin, brittle, and prone to what professionals call "hot tire pickup"—when your car's warm tires literally pull up chunks of the coating.
Improper Application Techniques
Even with quality products, poor application can doom your floor. Common mistakes include:
- Applying coats too thick or too thin
- Not allowing proper cure time between coats
- Inadequate mixing of the two-part epoxy system
- Working outside recommended temperature ranges
DIY vs. Professional Assessment: When to Call for Help
Small Area Repairs You Can Handle
If peeling covers less than 10 square feet and appears to be surface-level, you might be able to tackle a spot repair. However, remember that these repairs are temporary fixes that address symptoms, not underlying causes.
When It's Time to Start Over
If you notice any of these warning signs, a complete removal and reapplication is likely your best bet:
- Peeling covers large areas or multiple sections
- You can see white dust on the underside of peeled sections
- The concrete underneath appears damaged or extremely soft
- This isn't the first time you've had peeling issues
How to Fix a Peeling Epoxy Floor: Your Action Plan
Option 1: Spot Repair for Minor Damage
What You'll Need:
- Medium-grit sandpaper
- Degreasing solvent
- High-quality epoxy primer
- Matching epoxy coating
- Roller or brush for application
Step-by-Step Process:
- Clean the Area: Use a degreaser to remove any oil, dirt, or contamination. Allow to dry completely.
- Sand the Damaged Zone: Carefully sand the peeling area and slightly beyond to create smooth transitions.
- Remove All Dust: Vacuum and wipe down with a tack cloth—any remaining dust will cause future adhesion problems.
- Prime the Surface: Apply a high-quality epoxy primer and allow to cure per manufacturer specifications.
- Apply New Epoxy: Use a thin, even coat, feathering the edges to blend with the existing floor.
Option 2: Complete Removal and Reapplication
For widespread damage, starting fresh is often the most cost-effective long-term solution.
Professional Removal Methods:
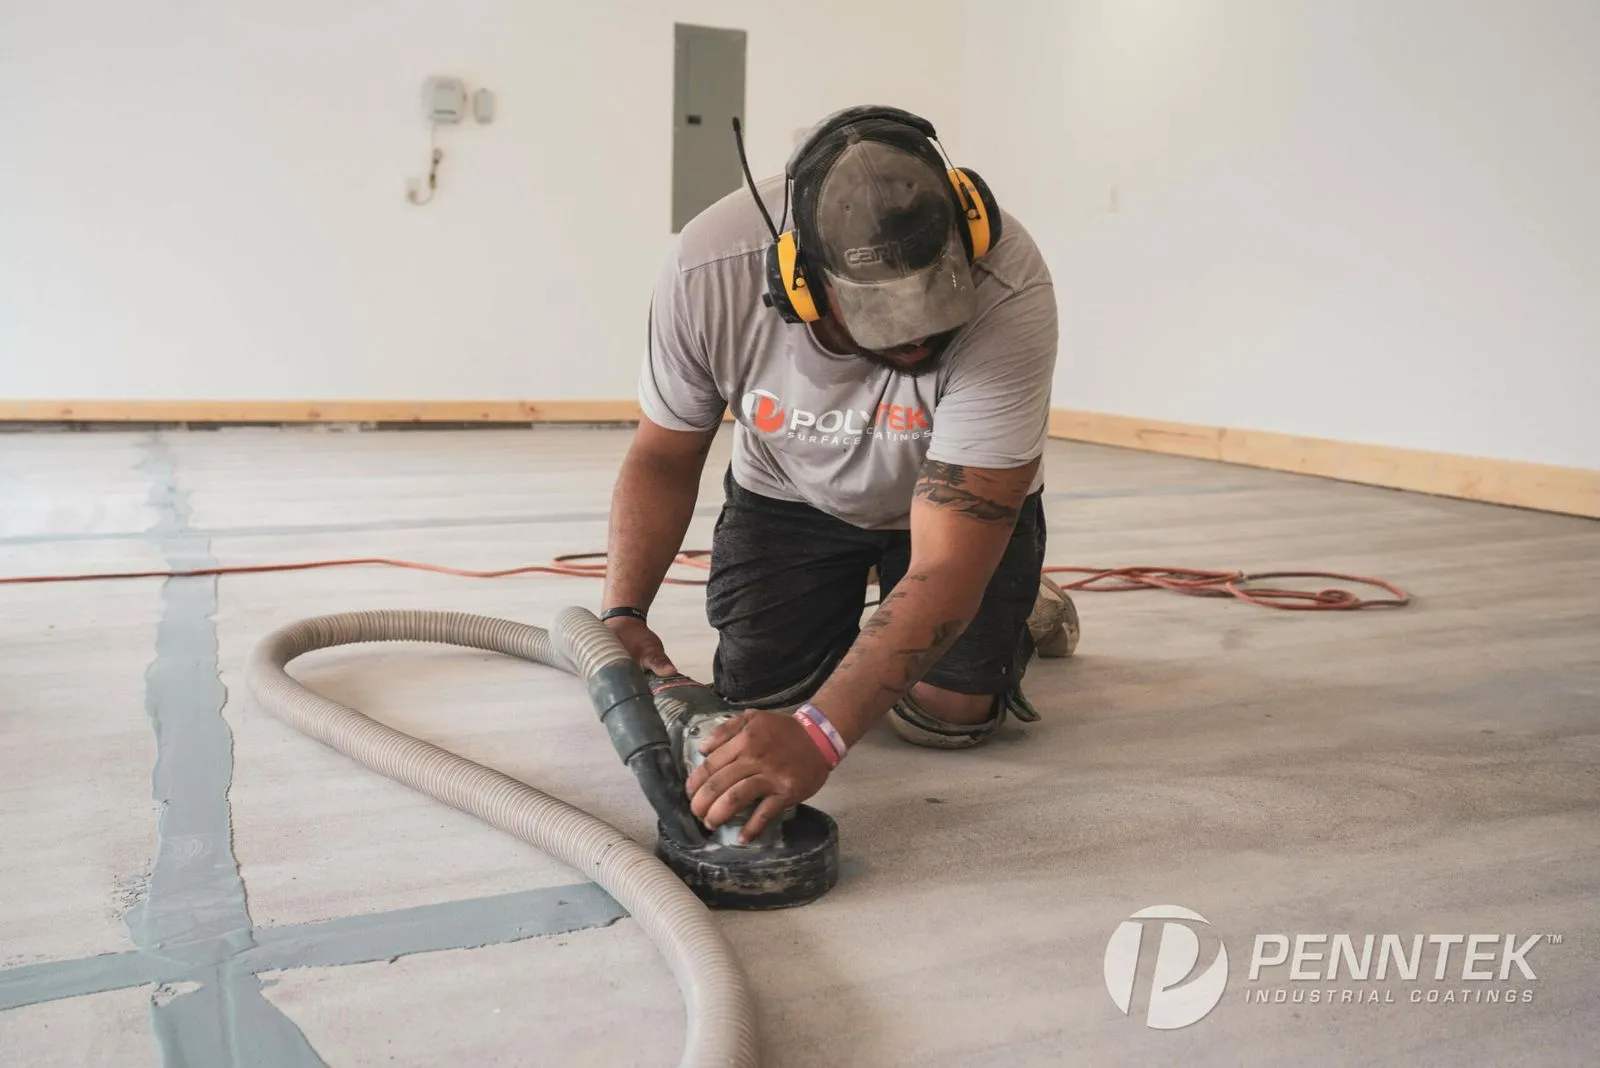
- Mechanical Grinding: The most effective method, completely removes old coating and properly profiles the concrete
- Chemical Stripping: Less common but effective for certain situations
The Professional Installation Process:
- Complete Removal: All old epoxy must be removed down to bare concrete
- Concrete Assessment: Check for soft spots, cracks, or other structural issues
- Proper Surface Profiling: Create the correct concrete surface profile (CSP 1 or CSP 2)
- Thorough Cleaning: Remove all dust, debris, and contaminants
- Moisture Testing: Ensure concrete is dry and won't trap moisture
- Quality Primer Application: Use appropriate primer for your specific conditions
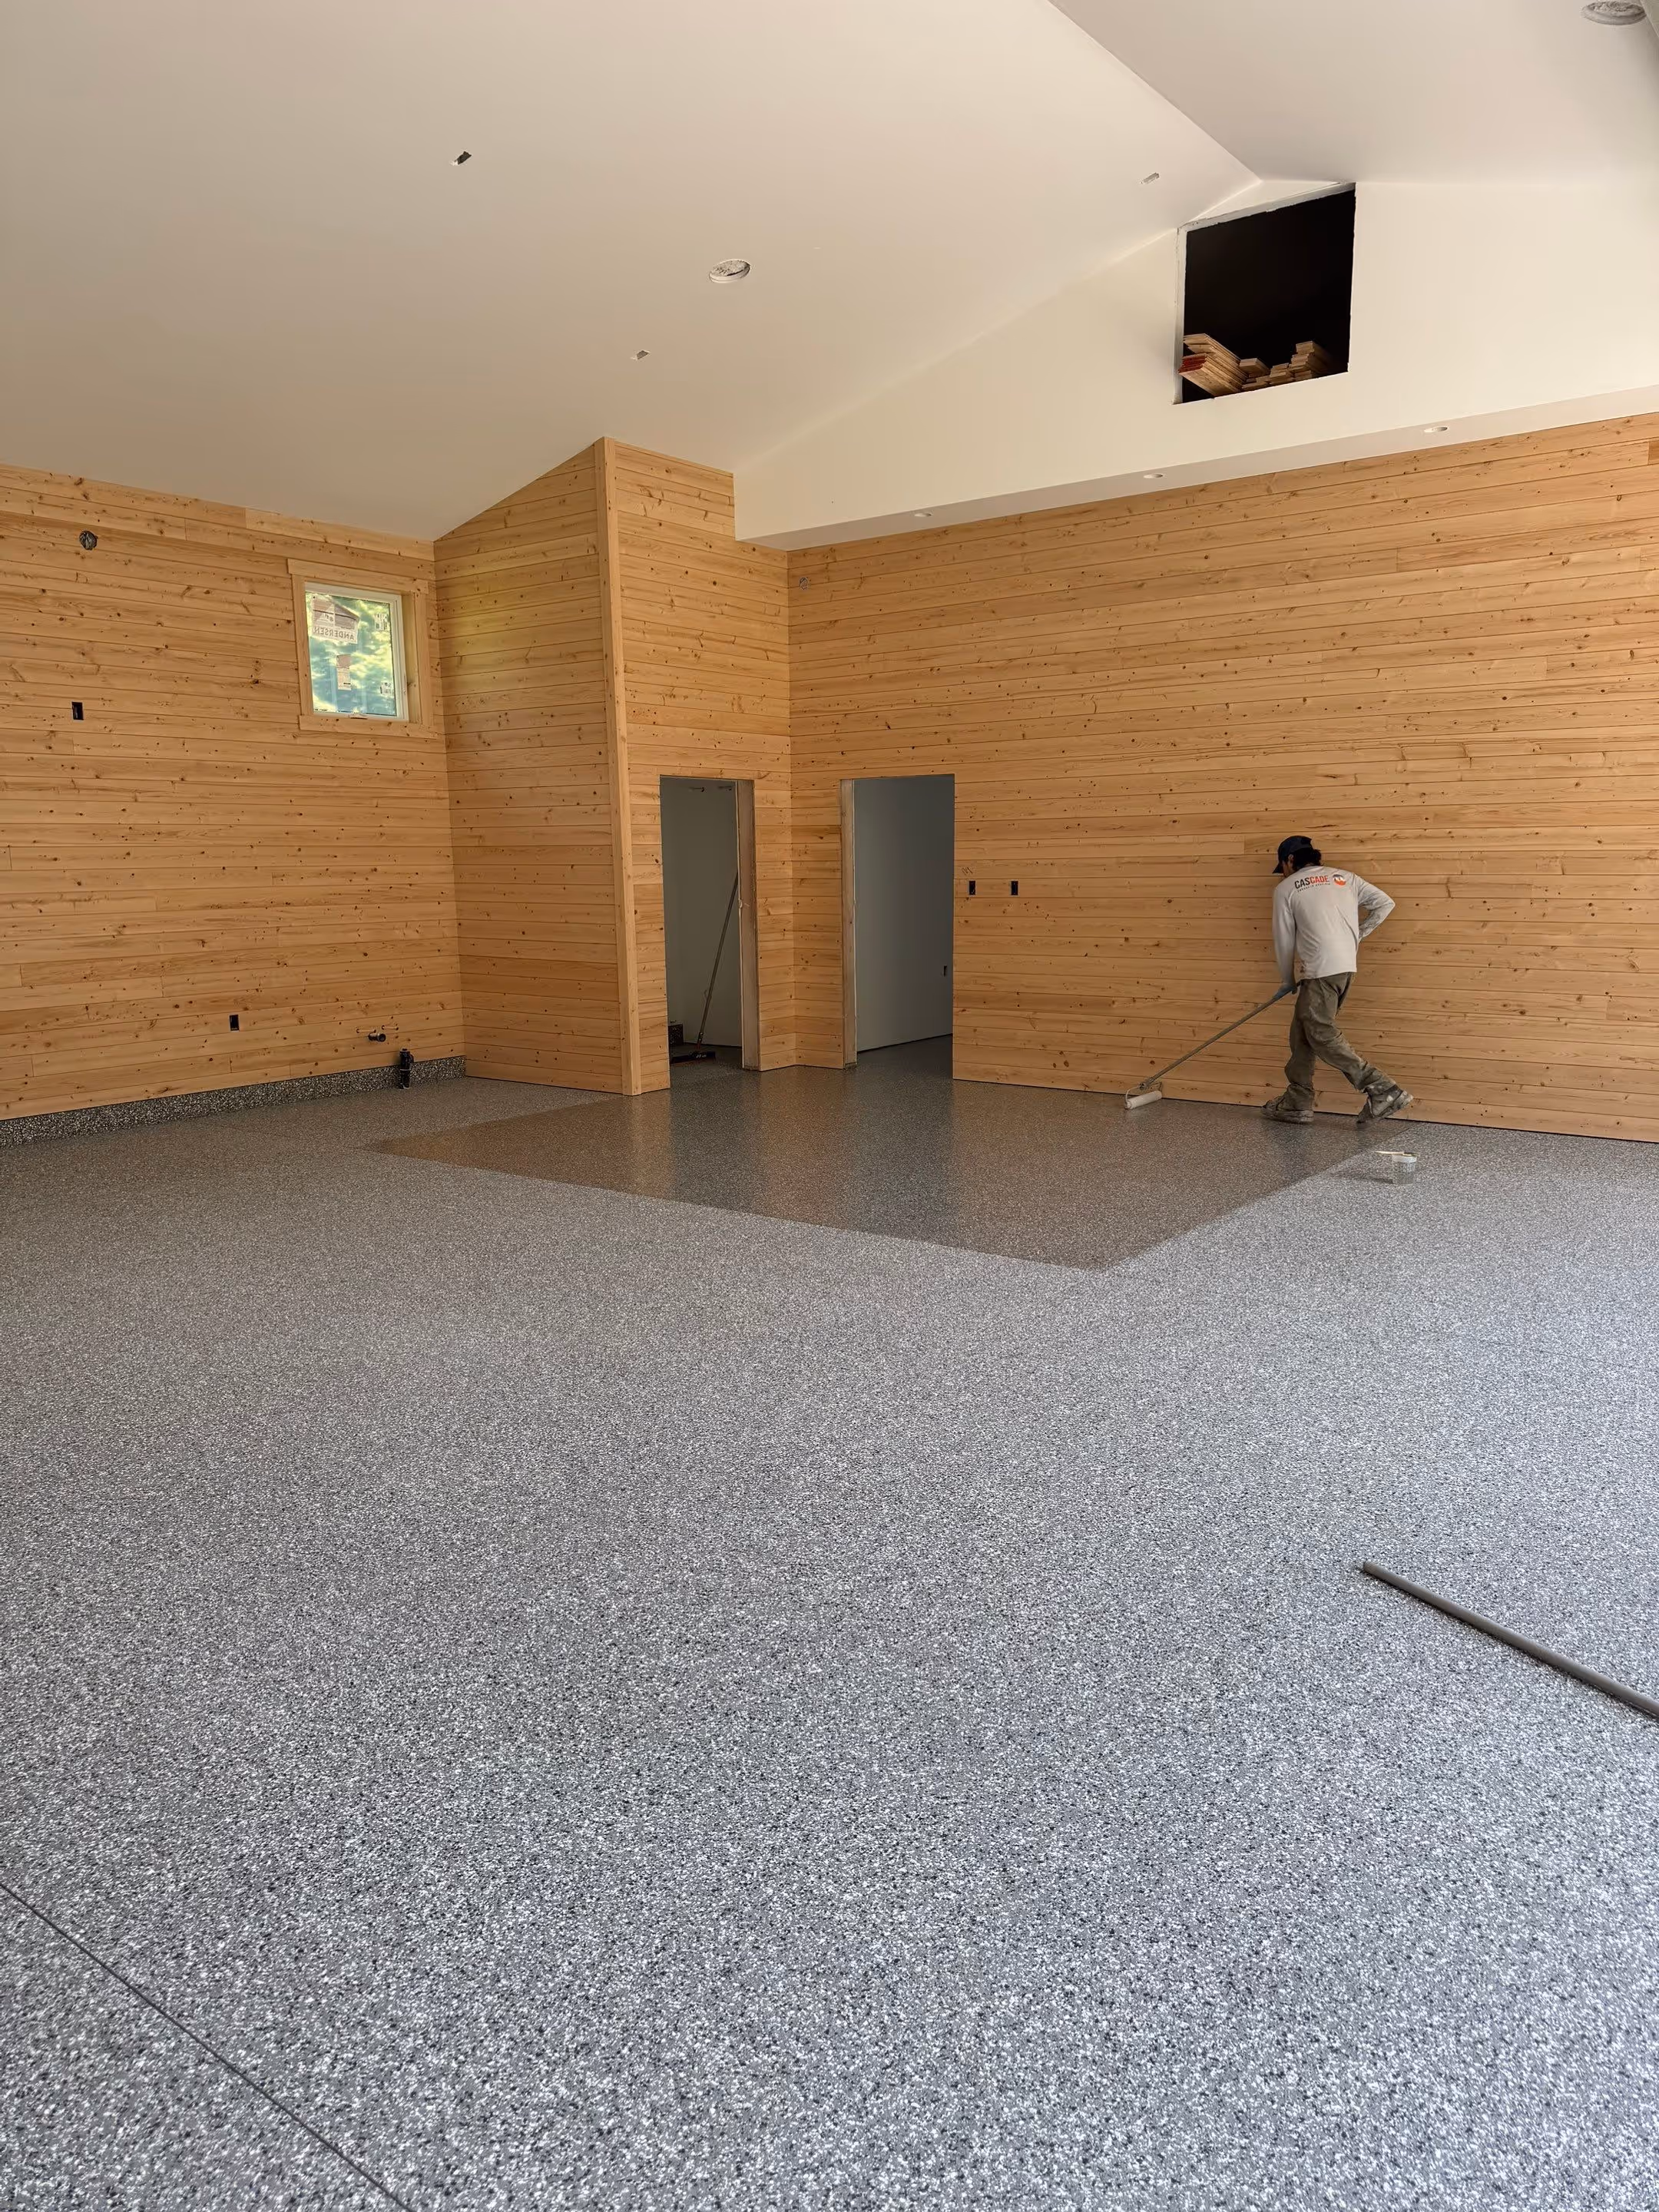
- Professional Coating Application: Apply coating in optimal environmental conditions
Prevention: Avoiding Future Epoxy Disasters
Invest in Proper Surface Preparation
The foundation of any successful garage floor coating is meticulous preparation. This includes:
- Concrete Profiling: Creating the right surface texture for adhesion
- Thorough Cleaning: Using appropriate degreasers and cleaning agents
- Moisture Management: Ensuring concrete is properly dried and sealed against future moisture intrusion
Choose Quality Materials and Application
Signs of a Quality Installation:
- Proper surface profiling that feels like 100-grit sandpaper
- Water absorption test: drops should be absorbed in under a minute
- Appropriate primer selection for your specific conditions
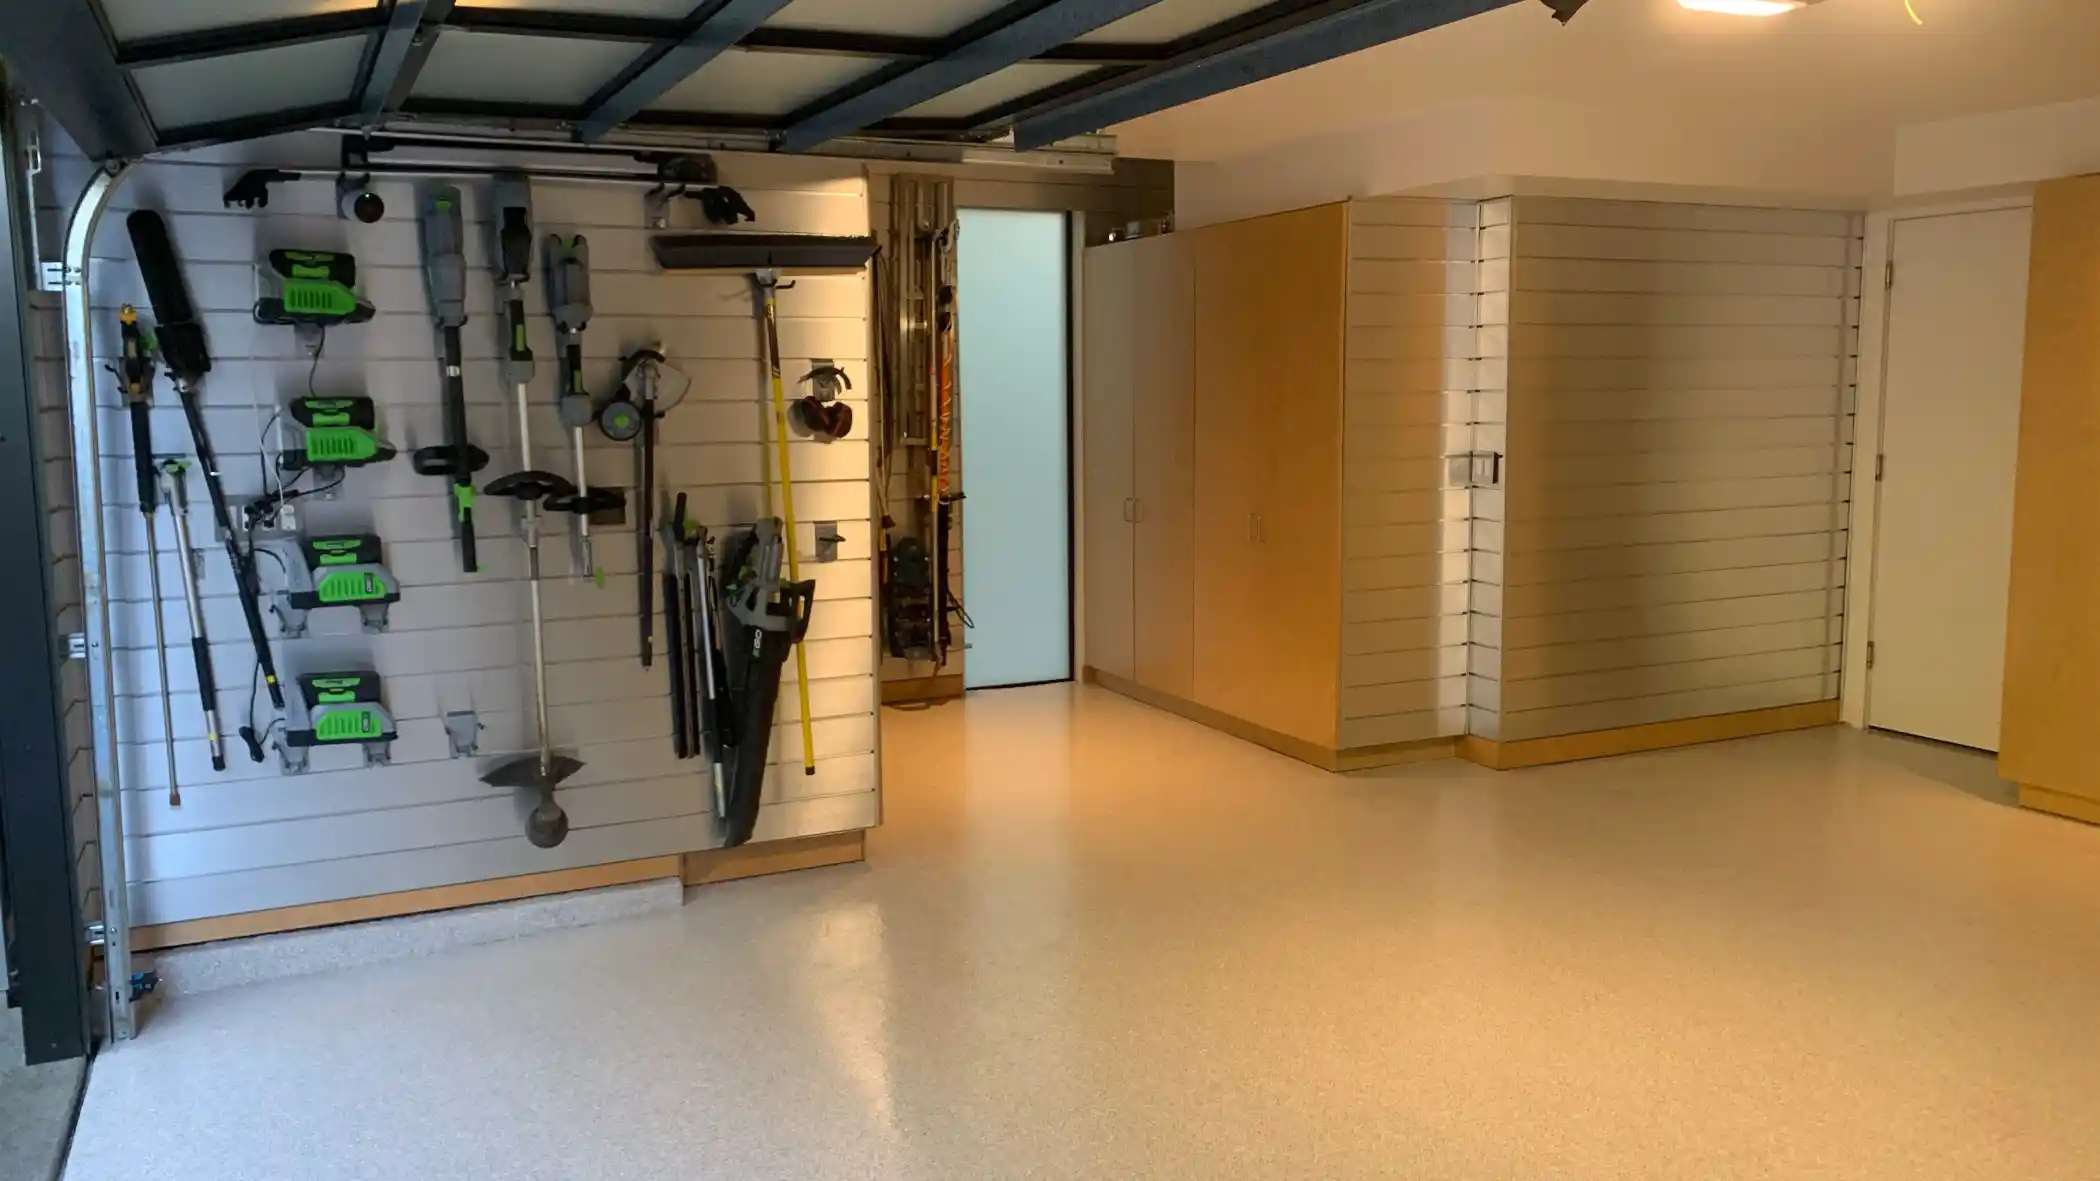
- Professional-grade coatings designed for garage environments
Consider Superior Alternatives
Modern polyurea and polyaspartic coatings often outperform traditional epoxy systems. These advanced coatings offer:
- Better Temperature Resistance: Less prone to damage from hot tires and temperature swings
- Faster Cure Times: Reduces risk of contamination during vulnerable curing period
- Superior Durability: More flexible and resistant to cracking and peeling
- UV Stability: Won't yellow or fade under UV exposure
Maintenance Tips to Extend Your Floor's Life
Proper Cleaning Techniques
Do:
- Use neutral pH cleaners specifically designed for epoxy floors
- Clean spills promptly to prevent staining
- Use soft-bristled brushes for stubborn dirt
Don't:
- Use citrus cleaners or vinegar (acidic substances erode the coating)
- Apply soap-based cleaners (leave residue and can create slippery conditions)
- Use abrasive scrubbers that can scratch the surface
Protective Measures
- Place mats at entry points to reduce tracked dirt and moisture
- Address cracks immediately before they become larger problems
- Control moisture by ensuring proper ventilation and drainage
- Use furniture pads under heavy equipment to prevent gouging
The True Cost of Cutting Corners
While DIY epoxy kits may seem cost-effective upfront, consider the hidden expenses of premature failure:
- Frequent Repairs: Constant touch-ups and maintenance
- Complete Replacement: Having to redo the entire floor every few years
- Lost Productivity: Time spent dealing with ongoing floor issues
- Reduced Home Value: A deteriorating garage floor reflects poorly on overall property condition
When to Call a Professional
Certain situations require professional expertise:
- Moisture problems that need to be addressed before any coating application
- Structural concrete issues like spalling or significant cracking
- Previous coating failures where the underlying cause needs diagnosis
- High-performance requirements where long-term durability is critical
Making the Right Choice for Your Garage
Your garage floor is an investment in your property's functionality and value. While the initial cost of professional installation may be higher than a DIY approach, the long-term benefits often make it the smarter financial decision.
Questions to Ask Potential Contractors:
- What surface preparation methods do you use?
- How do you test for moisture and concrete hardness?
- What warranty do you provide on both materials and workmanship?
- Can you provide references from recent garage floor projects?
- What maintenance requirements will my new floor have?
The Bottom Line
Peeling epoxy doesn't have to be a permanent problem, but addressing it properly is crucial for long-term success. Whether you're dealing with current peeling issues or planning a new garage floor coating, remember that preparation is everything. Invest in quality materials, proper installation techniques, and ongoing maintenance to ensure your garage floor looks great for decades to come.
Don't let another failed DIY project leave you frustrated. Consider consulting with flooring professionals who understand the science behind successful concrete coatings. Your garage—and your wallet—will thank you. Contact our team at Cascade Concrete Coatings today.